
Intro
Set up a seamless scheduling experience with our Framer Calendly Calendar Name Setup Guide, featuring integration tips, calendar naming best practices, and synchronization tutorials for efficient meeting management and booking systems.
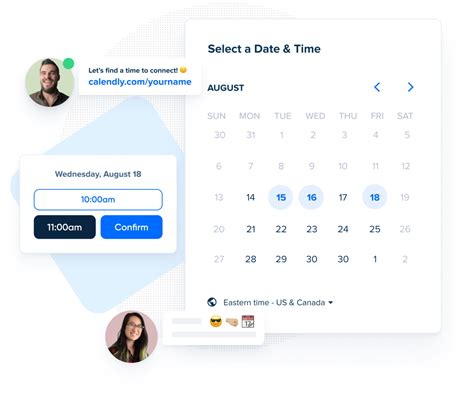
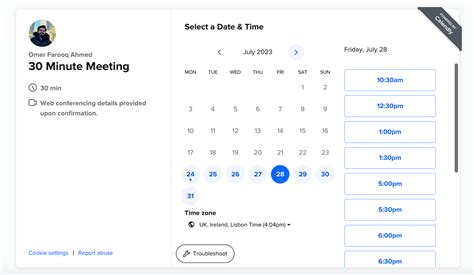
Setting up a calendar name in Framer Calendly is a straightforward process that can be completed in a few simple steps. The importance of setting up a calendar name lies in its ability to provide a clear and concise description of the purpose of the calendar, making it easier for users to understand the context and purpose of the scheduled events. In this article, we will delve into the world of Framer Calendly and explore the benefits and steps involved in setting up a calendar name.
The process of setting up a calendar name in Framer Calendly is a crucial aspect of creating a well-organized and user-friendly scheduling system. By providing a clear and descriptive calendar name, users can quickly identify the purpose of the calendar and the types of events that will be scheduled. This, in turn, can help to reduce confusion and improve the overall user experience. In the following sections, we will explore the benefits and steps involved in setting up a calendar name in Framer Calendly.
Introduction to Framer Calendly

Benefits of Setting Up a Calendar Name
Steps to Set Up a Calendar Name

Best Practices for Setting Up a Calendar Name

Common Mistakes to Avoid

Gallery of Framer Calendly Calendar Name Setup
Framer Calendly Calendar Name Setup Image Gallery


What is the purpose of setting up a calendar name in Framer Calendly?
+The purpose of setting up a calendar name in Framer Calendly is to provide a clear and descriptive name for the calendar, making it easier for users to understand the purpose of the calendar and the types of events that will be scheduled.
How do I set up a calendar name in Framer Calendly?
+To set up a calendar name in Framer Calendly, log in to your account, navigate to the calendar settings page, click on the "Calendar" tab, select the calendar that you want to rename, click on the "Edit" button next to the calendar name, enter a new name for the calendar, and click on the "Save" button to save the changes.
What are the benefits of setting up a calendar name in Framer Calendly?
+The benefits of setting up a calendar name in Framer Calendly include improved user experience, reduced confusion, increased productivity, and better organization.
In conclusion, setting up a calendar name in Framer Calendly is an important step in creating a well-organized and user-friendly scheduling system. By following the steps outlined in this article and avoiding common mistakes, users can create a clear and descriptive calendar name that improves the overall user experience and increases productivity. We invite you to share your experiences and tips for setting up a calendar name in Framer Calendly in the comments below.