
Intro
Master document organization with our expert guide on grouping in Microsoft Word. Learn 5 effective ways to group objects, images, and text, and discover how to manipulate grouped items with ease. Improve your document design and editing efficiency with our step-by-step tutorial, covering topics like grouping shapes, aligning objects, and Word document formatting.
Organizing content in a Microsoft Word document is essential for clear communication and presentation. One of the powerful features in Microsoft Word is grouping, which allows you to combine multiple objects, such as shapes, images, or text boxes, into a single entity. This feature simplifies the process of managing complex layouts and designs. In this article, we will explore the different ways to group objects in Microsoft Word.
Why Group Objects in Microsoft Word?
Grouping objects in Microsoft Word offers several benefits. It allows you to:
- Simplify complex layouts by combining multiple objects into a single unit
- Easily move, resize, or rotate multiple objects simultaneously
- Apply uniform formatting, such as font, color, or texture, to multiple objects at once
- Protect individual objects from accidental movement or editing
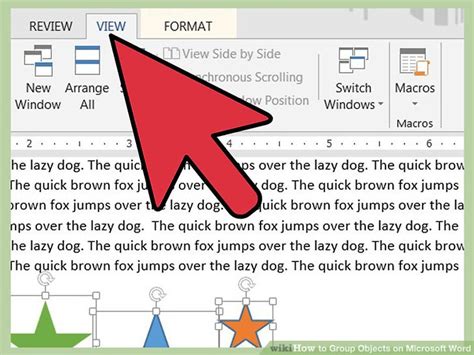
Method 1: Using the Group Command

The most straightforward way to group objects in Microsoft Word is by using the Group command. Here's how:
- Select the objects you want to group by holding down the Ctrl key while clicking on each object.
- Go to the Home tab in the ribbon.
- Click on the Arrange button in the Drawing Tools group.
- Select Group from the dropdown menu.
- Choose Group from the submenu.
Method 1 Alternative: Using the Context Menu
Alternatively, you can also group objects using the context menu:- Select the objects you want to group by holding down the Ctrl key while clicking on each object.
- Right-click on any of the selected objects.
- Select Group from the context menu.
Method 2: Using the Ungroup Command
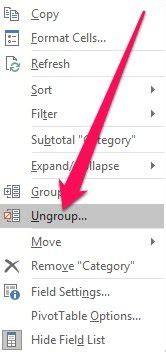
If you need to break apart a grouped object, you can use the Ungroup command:
- Select the grouped object.
- Go to the Home tab in the ribbon.
- Click on the Arrange button in the Drawing Tools group.
- Select Ungroup from the dropdown menu.
- Choose Ungroup from the submenu.
Method 2 Alternative: Using the Context Menu
Alternatively, you can also ungroup objects using the context menu:- Select the grouped object.
- Right-click on the grouped object.
- Select Ungroup from the context menu.
Method 3: Using the Regroup Command

If you need to reorganize a grouped object, you can use the Regroup command:
- Select the grouped object.
- Go to the Home tab in the ribbon.
- Click on the Arrange button in the Drawing Tools group.
- Select Regroup from the dropdown menu.
- Choose Regroup from the submenu.
Method 3 Alternative: Using the Context Menu
Alternatively, you can also regroup objects using the context menu:- Select the grouped object.
- Right-click on the grouped object.
- Select Regroup from the context menu.
Method 4: Using the Align Objects Tool
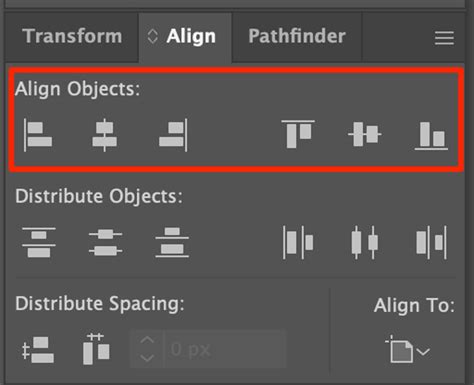
Another way to group objects is by using the Align Objects tool:
- Select the objects you want to group by holding down the Ctrl key while clicking on each object.
- Go to the Home tab in the ribbon.
- Click on the Arrange button in the Drawing Tools group.
- Select Align from the dropdown menu.
- Choose Align to Grid from the submenu.
Method 4 Alternative: Using the Context Menu
Alternatively, you can also align objects using the context menu:- Select the objects you want to group by holding down the Ctrl key while clicking on each object.
- Right-click on any of the selected objects.
- Select Align to Grid from the context menu.
Method 5: Using the Selection Pane

Finally, you can also group objects using the Selection Pane:
- Select the objects you want to group by holding down the Ctrl key while clicking on each object.
- Go to the Home tab in the ribbon.
- Click on the Select Objects button in the Editing group.
- In the Selection Pane, click on the Group button.
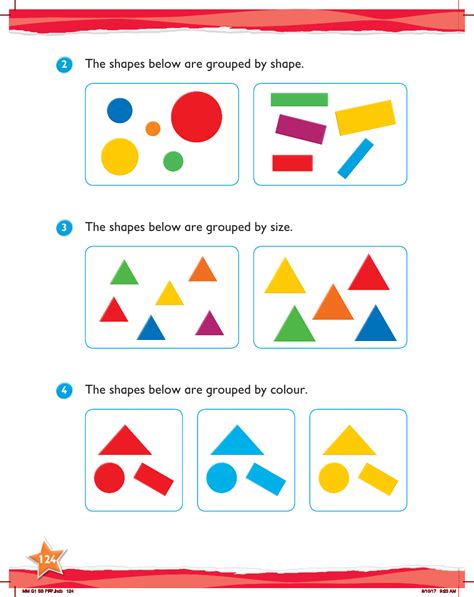
Gallery of Grouping in Microsoft Word
Grouping in Microsoft Word Image Gallery


FAQs
What is grouping in Microsoft Word?
+Grouping in Microsoft Word is a feature that allows you to combine multiple objects, such as shapes, images, or text boxes, into a single entity. This feature simplifies the process of managing complex layouts and designs.
Why do I need to group objects in Microsoft Word?
+Grouping objects in Microsoft Word offers several benefits, including simplifying complex layouts, easily moving or resizing multiple objects simultaneously, applying uniform formatting, and protecting individual objects from accidental movement or editing.
How do I group objects in Microsoft Word?
+There are several ways to group objects in Microsoft Word, including using the Group command, Ungroup command, Regroup command, Align Objects tool, and Selection Pane.
Can I ungroup objects in Microsoft Word?
+Yes, you can ungroup objects in Microsoft Word using the Ungroup command or by right-clicking on the grouped object and selecting Ungroup from the context menu.
Can I regroup objects in Microsoft Word?
+Yes, you can regroup objects in Microsoft Word using the Regroup command or by right-clicking on the grouped object and selecting Regroup from the context menu.
We hope this article has helped you understand the different ways to group objects in Microsoft Word. By mastering this feature, you can simplify complex layouts, improve productivity, and enhance your overall Microsoft Word experience. Share your thoughts and feedback in the comments section below.