
Intro
Master iron-on vinyl with 5 expert tips, covering vinyl cutting, weeding, and application for custom designs, heat transfer, and sign making, ensuring professional results with HTV and adhesive vinyl.
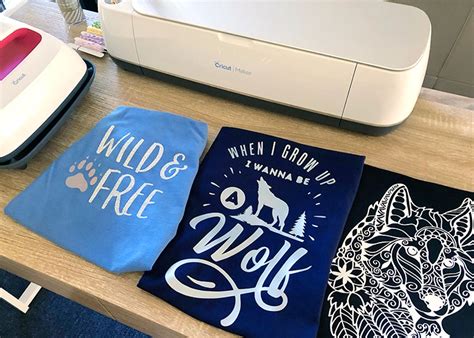
Iron-on vinyl has become a popular material for crafters and DIY enthusiasts, allowing them to create custom designs and decorations for various items such as t-shirts, tote bags, and more. With its ease of use and versatility, iron-on vinyl has opened up a world of creative possibilities. However, to achieve professional-looking results, it's essential to follow some tips and guidelines. In this article, we will explore five tips for working with iron-on vinyl, helping you to unlock its full potential and create stunning projects.
Iron-on vinyl is a type of heat transfer vinyl that can be applied to various fabrics using a heat press or a household iron. It's available in a wide range of colors, patterns, and finishes, making it an ideal material for customizing clothing, accessories, and home decor items. Whether you're a seasoned crafter or a beginner, iron-on vinyl is an excellent choice for adding a personal touch to your projects. With the right techniques and tools, you can achieve high-quality results that rival those of professional designers.
One of the key advantages of iron-on vinyl is its ease of use. Unlike other heat transfer materials, iron-on vinyl can be cut into intricate designs and patterns using a craft cutter or scissors. This makes it an excellent choice for creating custom logos, graphics, and text. Additionally, iron-on vinyl is relatively inexpensive compared to other heat transfer materials, making it an accessible option for crafters and DIY enthusiasts. With its versatility, ease of use, and affordability, iron-on vinyl has become a staple in the crafting community.
Understanding Iron-On Vinyl

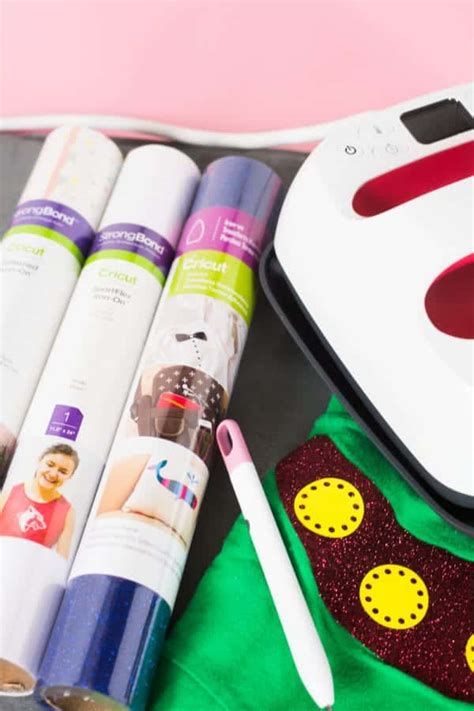
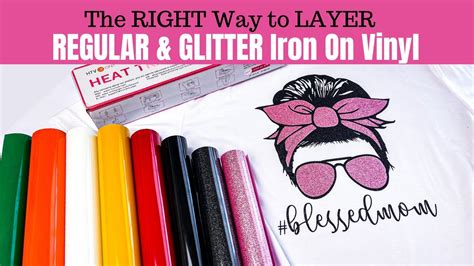
Before we dive into the tips and techniques for working with iron-on vinyl, it's essential to understand the different types of iron-on vinyl available. There are several types of iron-on vinyl, including standard, glitter, metallic, and holographic. Each type has its unique characteristics and requirements, so it's crucial to choose the right type for your project. Standard iron-on vinyl is the most common type and is suitable for most applications. Glitter iron-on vinyl, on the other hand, is ideal for adding a sparkly touch to your designs. Metallic and holographic iron-on vinyl are perfect for creating eye-catching and reflective designs.
Choosing the Right Iron-On Vinyl
When selecting iron-on vinyl, consider the type of fabric you'll be applying it to, as well as the desired finish and durability. For example, if you're working with a delicate fabric like silk or cotton, you may want to choose a lighter-weight iron-on vinyl. On the other hand, if you're working with a thicker fabric like canvas or denim, you can use a heavier-weight iron-on vinyl. It's also essential to consider the color and pattern of the iron-on vinyl, as well as any special finishes or effects you want to achieve.Tip 1: Prepare Your Design

Before you start cutting and applying your iron-on vinyl, it's essential to prepare your design. This involves creating a digital design using software like Adobe Illustrator or Silhouette Studio. You can also use pre-made templates and designs available online. When creating your design, make sure to mirror it, as iron-on vinyl is applied to the fabric in reverse. You should also ensure that your design is the correct size and resolution for your project.
To prepare your design, follow these steps:
- Create a new document in your design software and set the dimensions to the size of your project.
- Import your design elements, such as text, shapes, and images.
- Arrange your design elements to create a cohesive and balanced composition.
- Mirror your design to ensure it's applied correctly to the fabric.
- Save your design as a cut file, ready to be sent to your craft cutter.
Design Software and Tools
There are several design software and tools available for preparing your iron-on vinyl designs. Adobe Illustrator is a popular choice among crafters and designers, offering a wide range of features and tools for creating complex designs. Silhouette Studio is another popular option, specifically designed for use with Silhouette craft cutters. You can also use online design tools like Canva or GIMP to create your designs.Tip 2: Cut Your Iron-On Vinyl

Once you've prepared your design, it's time to cut your iron-on vinyl. You can use a craft cutter like a Silhouette or Cricut, or scissors for simpler designs. When using a craft cutter, make sure to adjust the settings to the correct material and blade depth. You should also use a cutting mat to protect your work surface and prevent the vinyl from moving during cutting.
To cut your iron-on vinyl, follow these steps:
- Send your design to your craft cutter and adjust the settings as needed.
- Place your iron-on vinyl on the cutting mat, ensuring it's smooth and wrinkle-free.
- Cut your design, using the craft cutter's built-in tools and features to optimize the cutting process.
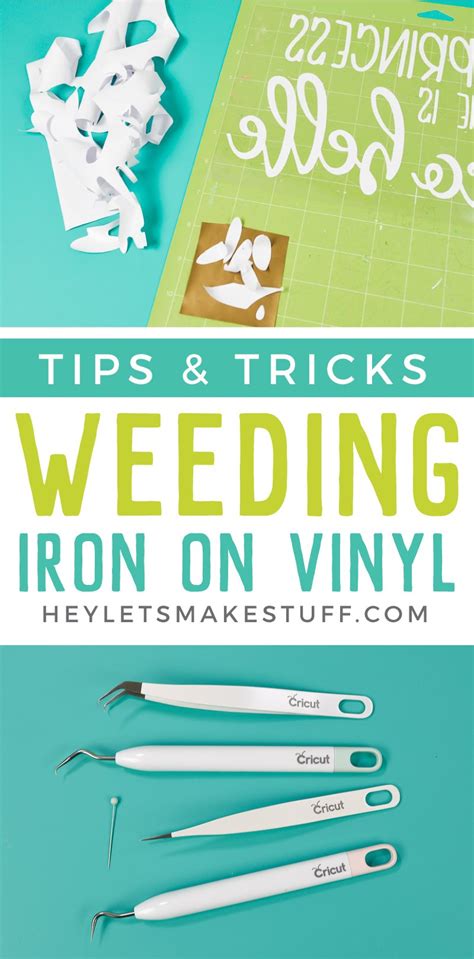
- Weed your design, removing any excess vinyl and leaving only the desired design elements.
Craft Cutters and Blades
There are several craft cutters and blades available for cutting iron-on vinyl. Silhouette and Cricut are two popular brands, offering a range of cutters and blades for various materials and applications. When choosing a craft cutter and blade, consider the type of iron-on vinyl you're using, as well as the complexity of your design. You should also invest in a high-quality cutting mat to protect your work surface and prevent damage to your cutter.Tip 3: Apply Your Iron-On Vinyl
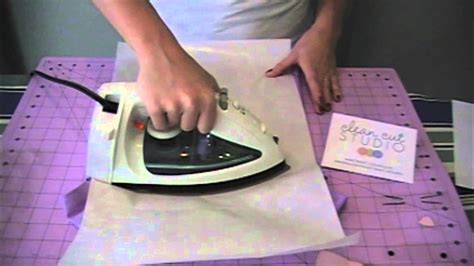
Applying your iron-on vinyl is a crucial step in the process. You can use a heat press or a household iron, depending on the type of fabric and the size of your design. When using a heat press, make sure to set the temperature and pressure according to the manufacturer's instructions. When using a household iron, use a medium to high heat setting and apply gentle pressure.
To apply your iron-on vinyl, follow these steps:
- Preheat your heat press or household iron to the recommended temperature.
- Place your fabric on a flat surface, ensuring it's smooth and wrinkle-free.
- Apply your iron-on vinyl, using a heat-resistant tape to secure it in place.
- Apply heat and pressure, using a timer to ensure the correct application time.
Heat Presses and Household Irons
There are several heat presses and household irons available for applying iron-on vinyl. When choosing a heat press, consider the size of your designs and the type of fabric you're working with. Household irons are a more affordable option, but may require more effort and technique to achieve professional-looking results. You should also invest in a heat-resistant tape to secure your iron-on vinyl in place during application.Tip 4: Weed and Finish Your Design
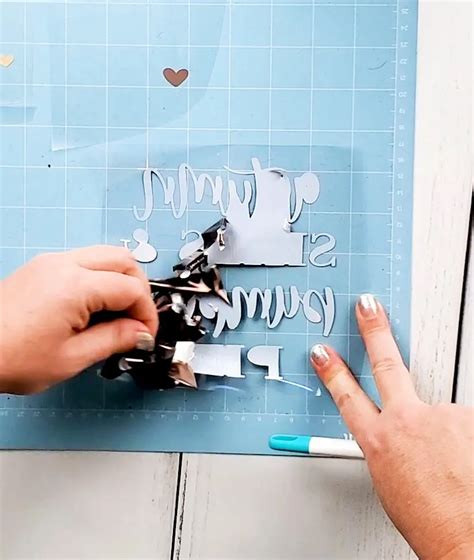
After applying your iron-on vinyl, it's essential to weed and finish your design. Weeding involves removing any excess vinyl and leaving only the desired design elements. You can use a weeding tool or a pair of tweezers to remove the excess vinyl. Once you've weeded your design, you can add any finishing touches, such as sewing or embroidering around the edges.
To weed and finish your design, follow these steps:
- Allow your iron-on vinyl to cool and set before weeding.
- Use a weeding tool or tweezers to remove excess vinyl, working from the center of the design outwards.
- Add any finishing touches, such as sewing or embroidering around the edges.
- Inspect your design for any imperfections or areas that need touch-ups.
Weeding Tools and Techniques
There are several weeding tools and techniques available for removing excess iron-on vinyl. Weeding tools are specifically designed for this purpose, offering a quick and easy way to remove excess vinyl. Tweezers are another option, allowing for more precision and control. You should also use a magnifying glass or lamp to inspect your design and identify any areas that need attention.Tip 5: Troubleshoot Common Issues
Finally, it's essential to troubleshoot common issues that may arise when working with iron-on vinyl. These issues can include bubbles, wrinkles, and uneven application. To troubleshoot these issues, make sure to follow the manufacturer's instructions and use the correct settings and techniques. You should also inspect your design regularly to identify any areas that need attention.
To troubleshoot common issues, follow these steps:
- Identify the issue and determine the cause.
- Consult the manufacturer's instructions and online resources for solutions.
- Adjust your settings and techniques as needed to resolve the issue.
- Inspect your design regularly to prevent future issues from arising.
<h3/Common Issues and Solutions There are several common issues that can arise when working with iron-on vinyl, including bubbles, wrinkles, and uneven application. To resolve these issues, make sure to follow the manufacturer's instructions and use the correct settings and techniques. You should also invest in a high-quality heat press or household iron, as well as a cutting mat and weeding tools. By troubleshooting common issues and using the right techniques and tools, you can achieve professional-looking results with iron-on vinyl.
For more information on working with iron-on vinyl, check out our article on heat transfer vinyl.
Iron-On Vinyl Image Gallery


What is iron-on vinyl?
+Iron-on vinyl is a type of heat transfer vinyl that can be applied to fabrics using a heat press or household iron.
How do I prepare my design for iron-on vinyl?
+To prepare your design, create a digital design using software like Adobe Illustrator or Silhouette Studio, and mirror it to ensure correct application.
What are the different types of iron-on vinyl?
+There are several types of iron-on vinyl, including standard, glitter, metallic, and holographic, each with its unique characteristics and requirements.
How do I apply iron-on vinyl to fabric?
+To apply iron-on vinyl, use a heat press or household iron, following the manufacturer's instructions and using the correct settings and techniques.
What are some common issues with iron-on vinyl?
+Common issues with iron-on vinyl include bubbles, wrinkles, and uneven application, which can be resolved by following the manufacturer's instructions and using the correct settings and techniques.
We hope you found these tips and guidelines for working with iron-on vinyl helpful. With practice and patience, you can achieve professional-looking results and create stunning projects that showcase your creativity and skill. Don't be afraid to experiment and try new things – and don't hesitate to reach out if you have any questions or need further guidance. Share your iron-on vinyl projects with us on social media, and let's get creative together!