
Intro
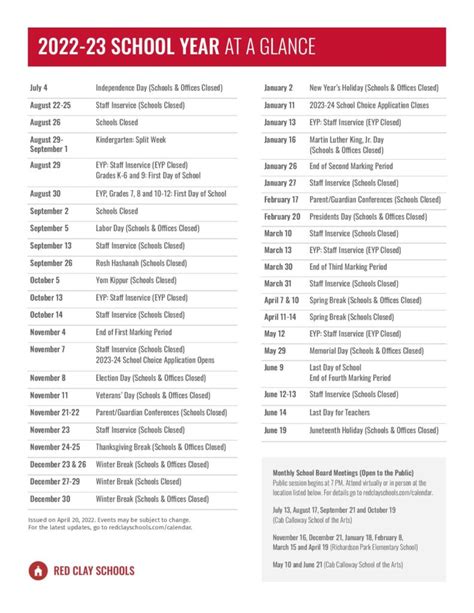
Boost productivity with 5 Red Clay Calendar Tips, leveraging event scheduling, time management, and organization strategies for a streamlined digital calendar experience.
The world of art and creativity is full of exciting mediums to explore, and one that has gained significant attention in recent years is red clay. This versatile material can be molded, shaped, and transformed into a wide range of beautiful pieces, from functional items like bowls and cups to decorative elements such as sculptures and ornaments. For those who are particularly interested in creating a unique and personalized calendar, red clay offers an excellent opportunity to express creativity and add a personal touch to a traditionally mundane item. Here are some tips to get you started on your red clay calendar journey.
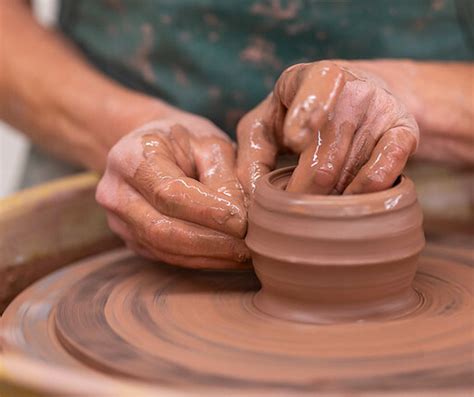
Creating a red clay calendar can be a fun and rewarding project, allowing you to combine your artistic skills with the practicality of keeping track of dates. Whether you're a seasoned artist or a beginner looking to try something new, working with red clay can be a very fulfilling experience. The tactile nature of the clay, the process of shaping and molding it, and the joy of seeing your creation take form can be very therapeutic and engaging. Moreover, the end result is not just a piece of art but a functional item that you can use daily, making it a great project for anyone looking to explore their creative side.
The process of making a red clay calendar involves several steps, from preparing the clay to designing and firing the final product. It requires patience, creativity, and attention to detail, but the outcome can be truly unique and personalized. Unlike mass-produced calendars, a red clay calendar can reflect your personality, interests, and style, making it a one-of-a-kind item. Additionally, the process of creating it can be a learning experience, teaching you about the properties of red clay, different techniques for shaping and decorating it, and the basics of ceramics. This combination of creativity, functionality, and learning makes creating a red clay calendar a highly rewarding project.
Understanding Red Clay
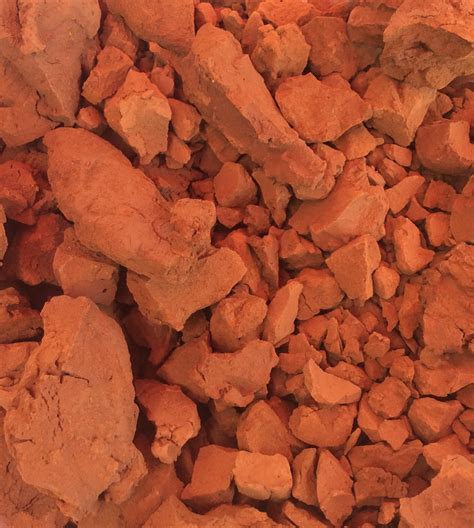
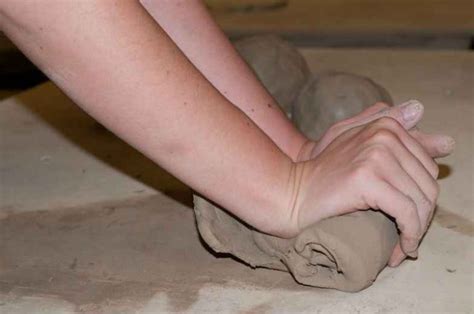
Preparing the Clay
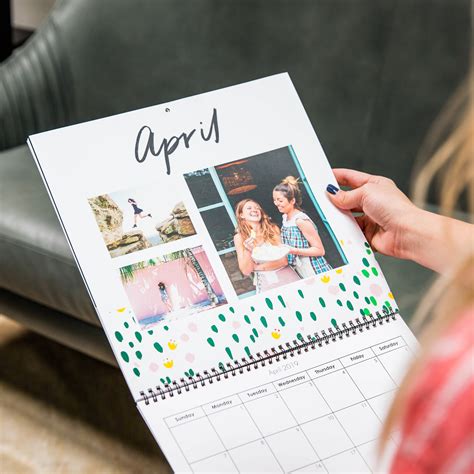
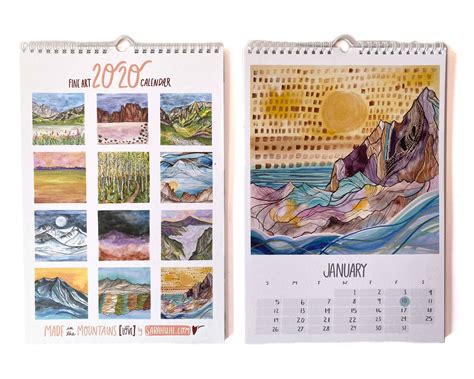
Designing the Calendar

Shaping and Refining
Drying and Firing

Tips for a Successful Firing
To ensure a successful firing, it's crucial to follow a few key tips: - **Use the right temperature:** The temperature will depend on the type of clay you're using and the effect you want to achieve. - **Control the atmosphere:** The atmosphere in the kiln can affect the final color and texture of your calendar. - **Monitor the firing process:** Keep an eye on the calendar as it fires to ensure it doesn't overfire or underfire.Final Touches

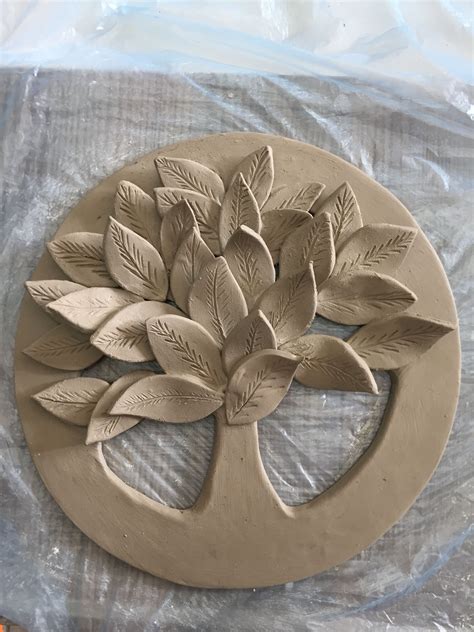
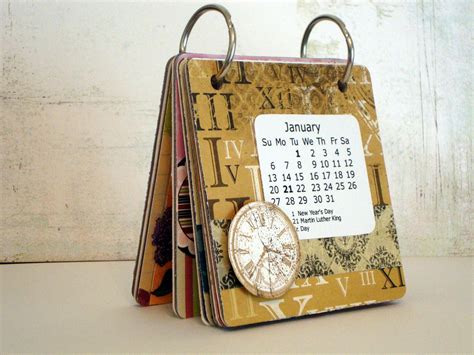
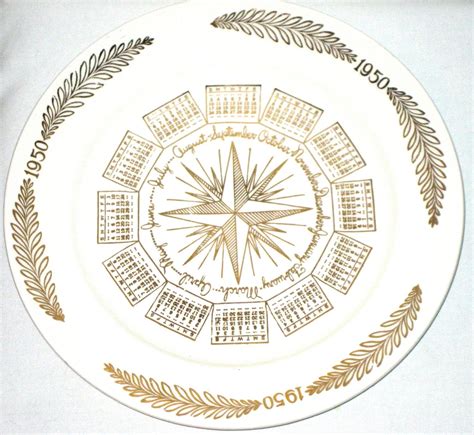
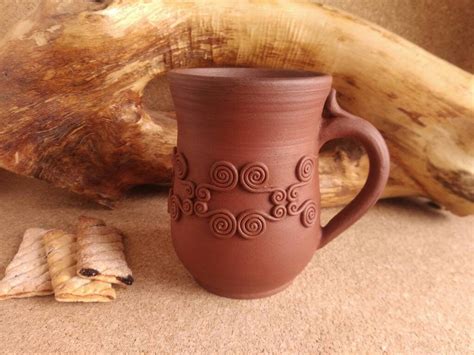
Gallery of Red Clay Creations
Red Clay Calendar Image Gallery
Frequently Asked Questions
What is the best type of clay for making a calendar?
+Red clay or terracotta clay is often recommended for beginners due to its ease of use and distinctive color.
How do I prevent my red clay calendar from cracking?
+To prevent cracking, ensure the clay is dried slowly and evenly. Covering it with a damp cloth or placing it in a controlled environment can help.
Can I use a home oven to fire my red clay calendar?
+While it's technically possible to fire clay in a home oven, it's not recommended. Kilns provide the high, controlled temperatures necessary for achieving the desired hardness and durability.
How do I make my red clay calendar more durable?
+Applying a glaze and firing it at a suitable temperature can significantly increase the durability of your calendar, making it more resistant to water and wear.
Can I sell my handmade red clay calendars?
+Yes, many people sell their handmade crafts, including red clay calendars, online or at local markets. Ensure you follow any local regulations and consider the cost of materials and time when pricing your items.
Creating a red clay calendar is a project that combines art, functionality, and personal expression. It's a great way to explore your creativity, learn about ceramics, and end up with a unique and useful item. Whether you're looking for a new hobby, a personalized gift idea, or simply a way to express yourself, making a red clay calendar can be a highly rewarding experience. We invite you to share your own experiences with red clay crafting, ask questions, or provide tips for others who might be interested in this creative pursuit. Your input and stories can inspire others and contribute to a community of artisans and crafters who appreciate the beauty and versatility of red clay.