
Intro
Master Smartsheet Calendar View with our tutorial, featuring project scheduling, Gantt charts, and workflow management to boost team productivity and collaboration.
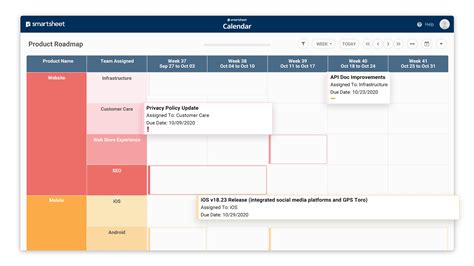
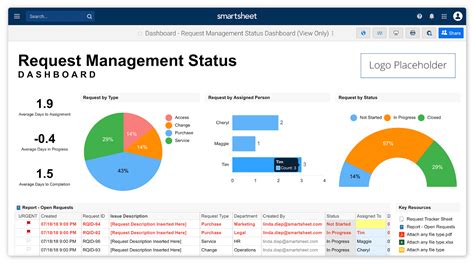
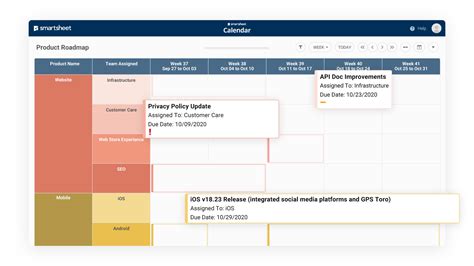
The Smartsheet calendar view is a powerful tool that allows users to visualize and manage their projects and tasks in a calendar format. This view is particularly useful for teams that need to track deadlines, schedules, and resource allocation. In this article, we will provide a comprehensive tutorial on how to use the Smartsheet calendar view to streamline your project management processes.
The Smartsheet calendar view is a flexible and customizable tool that can be tailored to meet the specific needs of your team. With this view, you can easily create and manage calendars, schedule tasks and events, and track progress in real-time. Whether you are a project manager, team leader, or individual contributor, the Smartsheet calendar view is an essential tool for achieving your goals and objectives.
To get the most out of the Smartsheet calendar view, it's essential to understand its key features and functionalities. In this tutorial, we will cover the basics of the calendar view, including how to create and customize calendars, schedule tasks and events, and track progress. We will also explore advanced features, such as resource allocation, dependencies, and reporting.
Getting Started with Smartsheet Calendar View
To access the Smartsheet calendar view, simply log in to your Smartsheet account and navigate to the project or sheet you want to work with. From there, click on the "Calendar" tab in the top navigation menu. This will take you to the calendar view, where you can create and manage your calendars.
Creating a New Calendar
To create a new calendar, click on the "Create Calendar" button in the top right corner of the screen. This will open a dialog box where you can enter the name and description of your calendar. You can also choose the calendar type, such as a project calendar or a resource calendar.Customizing Your Calendar

Once you have created your calendar, you can customize it to meet your specific needs. This includes setting the calendar layout, choosing the columns to display, and configuring the calendar settings. You can also add custom fields and formulas to your calendar to track specific data points.
Configuring Calendar Settings
To configure your calendar settings, click on the "Calendar Settings" button in the top right corner of the screen. This will open a dialog box where you can set the calendar layout, choose the columns to display, and configure other settings, such as the calendar timezone and language.Scheduling Tasks and Events
To schedule tasks and events in the Smartsheet calendar view, simply click on the "Create Task" or "Create Event" button in the top right corner of the screen. This will open a dialog box where you can enter the task or event details, including the name, description, start and end dates, and assigned resources.
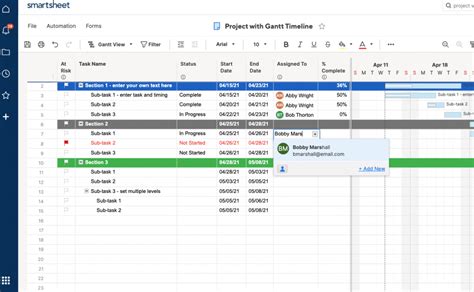
Assigning Resources
To assign resources to a task or event, click on the "Assign Resources" button in the task or event dialog box. This will open a list of available resources, including team members, vendors, and equipment. You can then select the resources you want to assign to the task or event.Tracking Progress
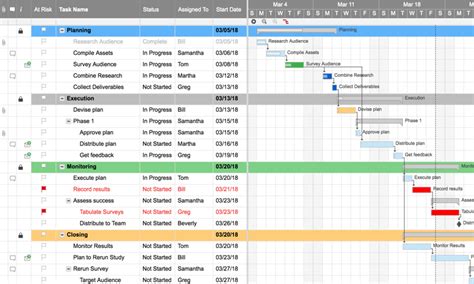
To track progress in the Smartsheet calendar view, simply click on the "Track Progress" button in the top right corner of the screen. This will open a dialog box where you can view the progress of your tasks and events, including the percentage complete, start and end dates, and assigned resources.
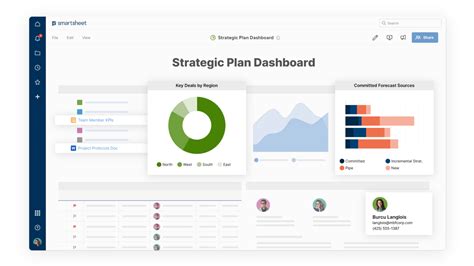
Viewing Progress Reports
To view progress reports, click on the "Reports" tab in the top navigation menu. This will take you to the reports page, where you can view and customize reports on your project progress.Advanced Features
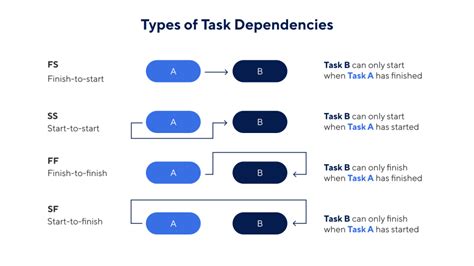
The Smartsheet calendar view also includes several advanced features, such as resource allocation, dependencies, and reporting. These features allow you to take your project management to the next level, with advanced tools and analytics to help you optimize your workflows and achieve your goals.
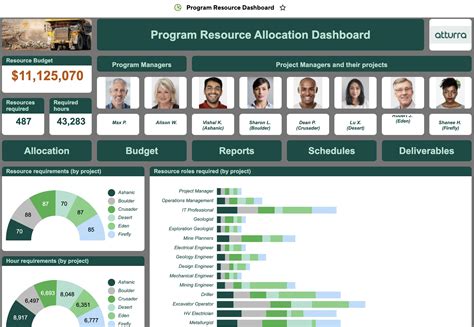
Resource Allocation
To allocate resources in the Smartsheet calendar view, click on the "Resource Allocation" button in the top right corner of the screen. This will open a dialog box where you can view and manage your resource allocation, including the resources assigned to each task and event.Best Practices
To get the most out of the Smartsheet calendar view, it's essential to follow best practices, such as creating a clear and concise calendar structure, using custom fields and formulas to track specific data points, and regularly updating and maintaining your calendar.
Calendar Maintenance
To maintain your calendar, click on the "Calendar Maintenance" button in the top right corner of the screen. This will open a dialog box where you can update and manage your calendar, including adding new tasks and events, updating existing ones, and deleting unnecessary items.Smartsheet Calendar View Image Gallery


What is the Smartsheet calendar view?
+The Smartsheet calendar view is a powerful tool that allows users to visualize and manage their projects and tasks in a calendar format.
How do I create a new calendar in Smartsheet?
+To create a new calendar, click on the "Create Calendar" button in the top right corner of the screen and enter the name and description of your calendar.
How do I schedule tasks and events in Smartsheet?
+To schedule tasks and events, click on the "Create Task" or "Create Event" button in the top right corner of the screen and enter the task or event details.
In conclusion, the Smartsheet calendar view is a powerful tool that can help you streamline your project management processes and achieve your goals. By following the tutorials and best practices outlined in this article, you can get the most out of the Smartsheet calendar view and take your project management to the next level. We encourage you to share your experiences and tips on using the Smartsheet calendar view in the comments section below. Additionally, if you have any questions or need further assistance, don't hesitate to reach out.